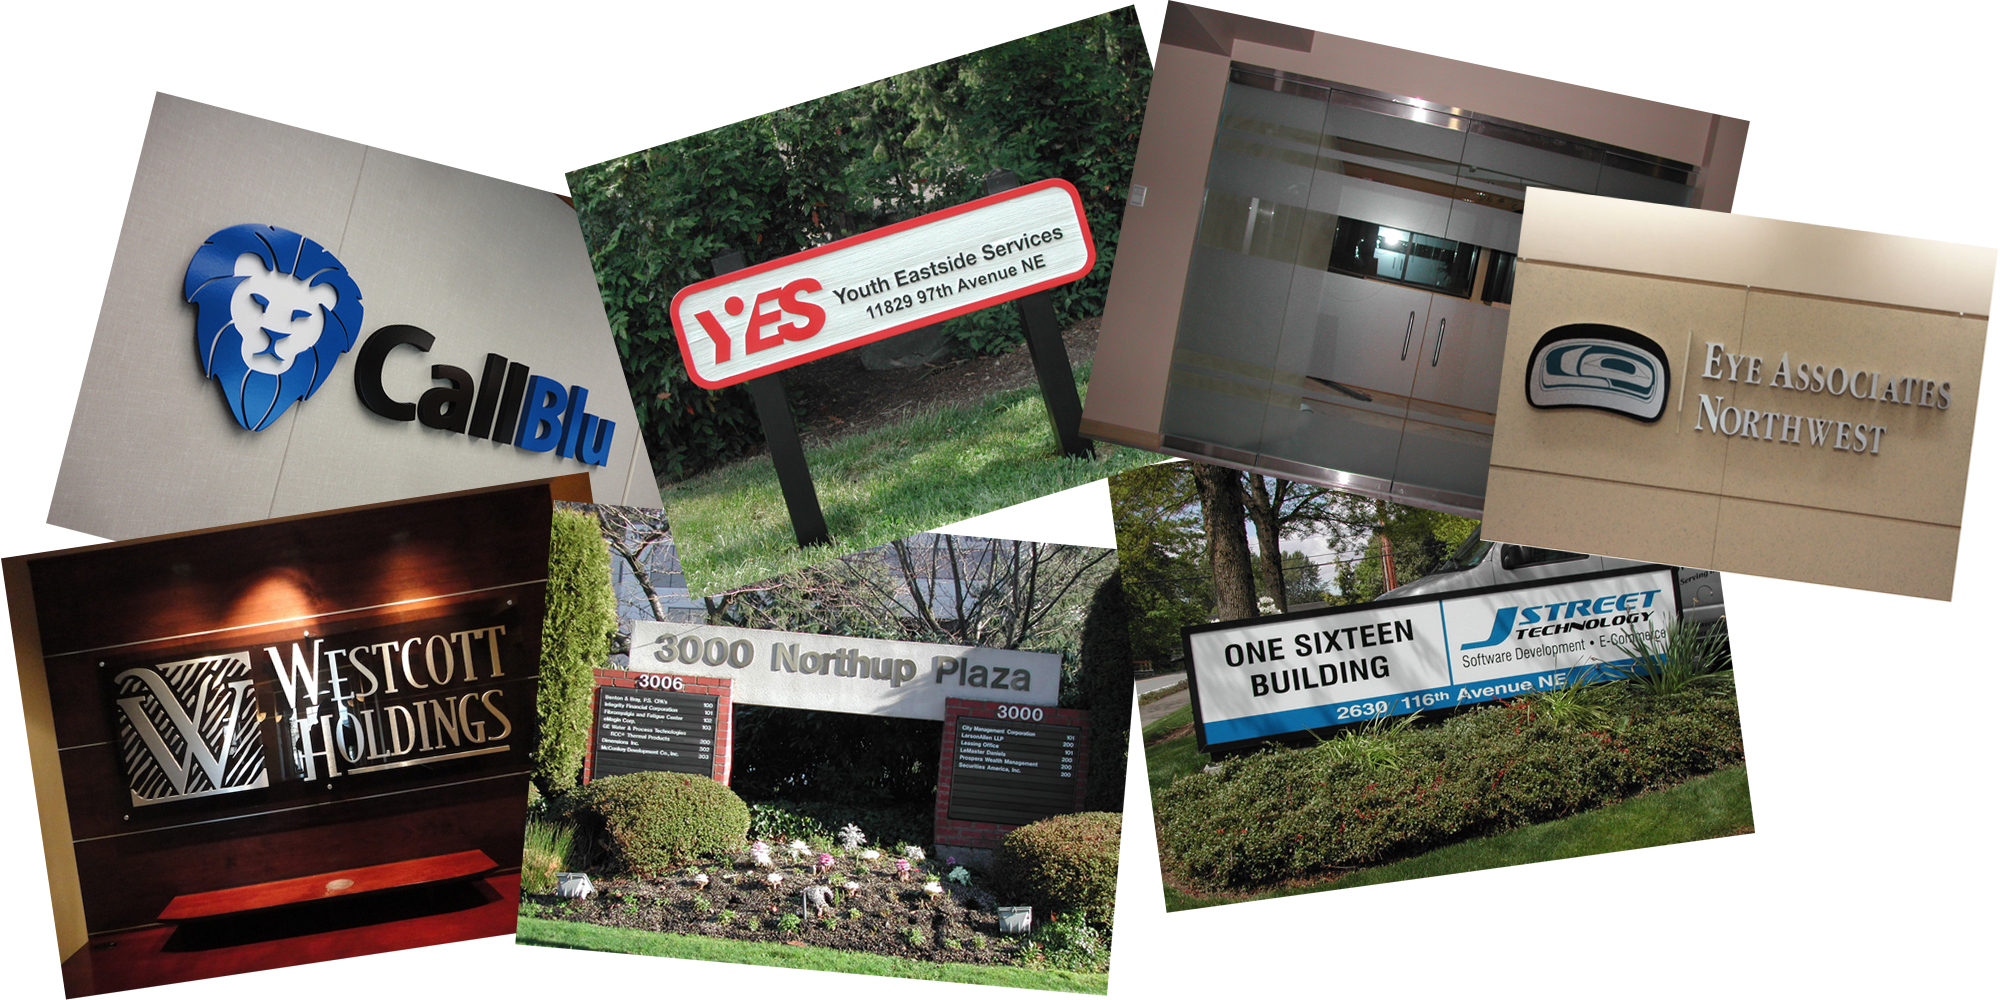
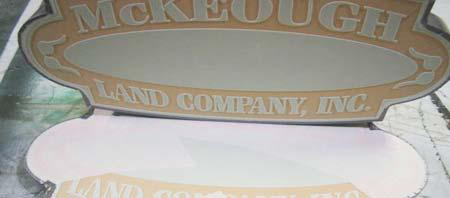
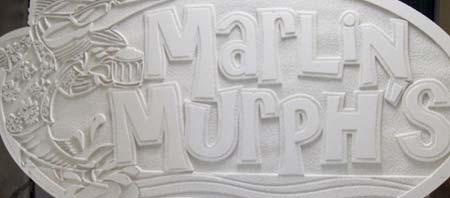
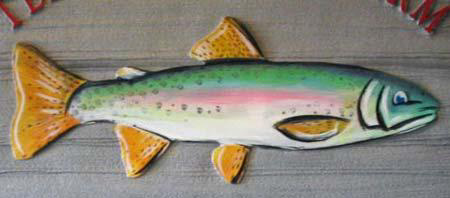
Design & Fabrication

We pride ourselves on being a service-oriented company willing to tackle nearly any project that comes our way.

Everything we do is designed to help you make the best impression possible. And we've thought of every imaginable way to do it. We use brilliant, fade-resistant inks, along with premium materials, state-of-the-art technologies, and a host of imaginative ideas to create the kinds of images you'll be proud to display.

We manufacture in our own facility and work in partnership with the most established custom fabricators in the Eastside and greater Seattle area. These are companies with whom we have developed long term partnerships and whose quality and attention to detail are unquestioned.

Custom Sandblasted Signs

There are many steps taken in the fabrication of custom sandblasted signs. Once you have completed the design process and approved the layout, the fabrication begins. Here is how it is done.

STEP ONE: Constructing The Sign Blank

A "Sign Blank" is the basic shape of a sign before the sandblasting process.

Wooden Signs are made from clear grade lumber. The lumber is treated under extreme conditions to prevent warping and checking. Only a few select boards make it through the intense kiln conditions.

STEP TWO: Masking The Sign Blank

The dimensional effect in sandblasted signs is created by blasting a sign blank covered by a rubber mask. A rubber mask is cut from the digital design. The sections of the sign which are to be sandblasted are removed from the mask, protecting the raised areas and exposing the areas to be sandblasted.

STEP TWO: Masking The Sign Blank

STEP THREE: The Sandblasting Process

Sandblasting is an art form of its own. Cool, dry air is collected in a tank of sand at extreme pressure. The air and sand mixture is then forced through a ceramic nozzle, stripping away everything in its path.

The rubber mask protects areas of the sign blank by not permitting exposure to the blast mixture, which simply bounces off. The exposed areas are eaten away, leaving beautiful natural patterns in wood, and sand textured surfaces in foam. After sandblasting the sign blank, it is cleaned and prepared for the priming and finishing processes.

STEP FOUR: Priming The Sign Blank

Blasted sign blanks are primed according to their application. All sign applications have different finishing requirements. To ensure years of use, each of our products is treated accordingly. Raw sandblasted signs are rough and require several coats of primer to create a proper seal. Each layer is applied thin, allowed to dry, and sanded smooth. This process builds up a layer of primer that creates a strong barrier against weather elements.

Keep in mind that not all signs need to be primed. Natural wooden signs are beautiful and rich in detail. We offer a variety of natural finishes and stains.

STEP FOUR: Priming The Sign Blank

STEP FIVE: Finishing The Sandblasted Sign

Proper signage is an investment that should last. We realize the finishing stage is crucial in producing a sign that is maintenance free and will endure years of use. In addition to commercial grade enamels, we also have a wide variety of stains and clear coats.

STEP FIVE: Finishing The Sandblasted Sign

To learn more about the many products and services we offer, please contact us at your earliest convenience. We will work hard to earn and keep your trust.

Morup Signs Inc.

12824 NE 14th Pl
Bellevue, WA 98005
425-883-6337
morup@wolfenet.com